
Author Archives: sabinarm24
Fill Flash Outside


Outside fill flash is a quick burst of light coming from a flashgun and is used in places you normally wouldn’t use a flash. The goal is to gain the right amount of lighting to perfectly compliment your image. When using fill flash in broad daylight, it shuns light on areas that may have a dark shadow, like on someone’s face. It is best to use it for outdoor portraits when you want both a well-lit background and subject. You use it to get perfect exposure on the subject and background since it behaves as a supporting light source to add brightness to dark areas.
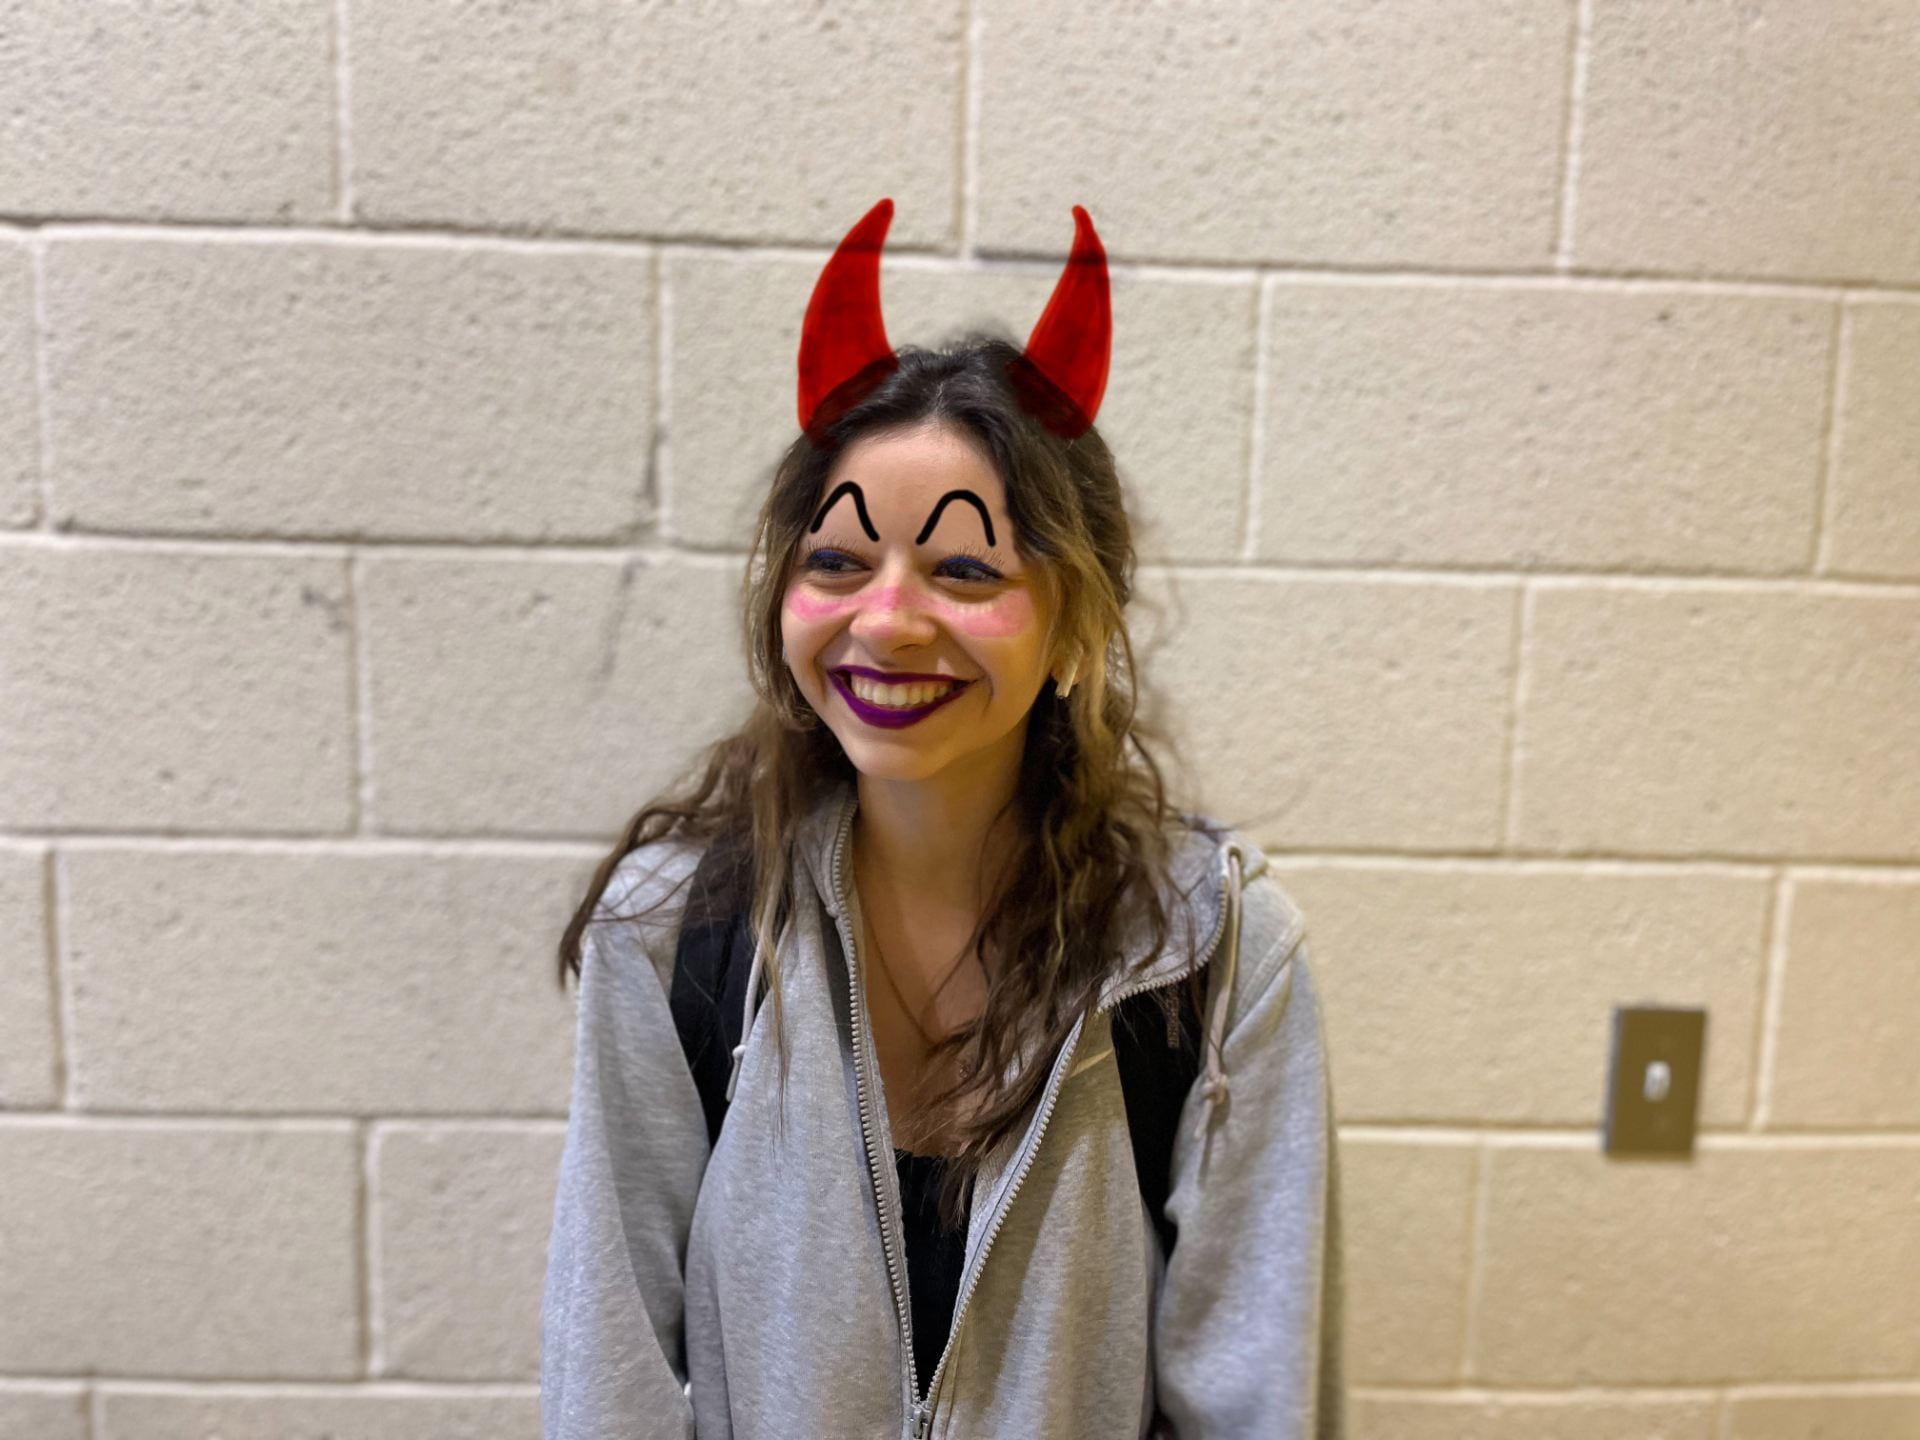
Portrait With Makeup
Favorite Teacher

My favorite teacher is my ASL teacher Ms. Hensley. I chose to photograph this teacher because she is one of my nicest teachers and makes me feel appreciated. When I’m in her class I feel fully comfortable with being myself and share a good bond with most of the students there. The environment she creates within that period is very fun and respectful. She makes it clear that she enjoys the time spent with us as much as we enjoy spending it with her.
She makes sure we understand the material given to us in class and is willing to be one on one with each of us to do so. She also has us do lots of activities during class which I usually enjoy because I like socializing with the students in that class and it’s much better than sitting down the whole time. She interacts with her students a lot and prioritizes the time spent with them which I find is a quality I most admire in a teacher. She allows us to joke around with her and each other which is also pretty fun.
I admire her intelligence as well. When she signs, I absolutely love it because her facial expressions are perfect and the fluency in her signing is something that I wish to achieve in the future. Her kindness and patience are what push me to continue to learn and practice my signing skills in hopes that I’ll reach her level. I also appreciate that when she is teaching the material, she becomes stricter with us. I tend to get distracted easily or talk with people in my table, so I usually need that nudge or reminder to listen and focus on the work. Her activities that she uses also prioritizes our attention. For example, when we do voice-off days, it is simply her signing to us. If we’re not paying attention, it’s very easy to get lost and not realize what we’re doing in class. All in all, Ms. Hensley is a fun and smart teacher that I appreciate having this year.
5 Portrait with Makeup Tips
- You can save a set of brush options as a preset so you can access brush characteristics you use frequently.
- To combine different types of cursors, select Show Crosshair in Brush Tip or Show Only Crosshair While Painting.
- Photoshop performs intelligent smoothing on your brush strokes. Simply enter a value (0-100) for Smoothing in the Options bar when you’re working with one of the following tools: Brush, Pencil, Mixer Brush, or Eraser.
- Adjust For Zoom: Prevents jittery strokes by adjusting smoothing.
- If you stroke over an area again, you apply additional color, equivalent to the set opacity. Opacity of 100 percent is opaque.
Myself in History

I chose to be Jesus because I thought that it would be cool. I thought holding a lamb was very unique and interesting, so I put myself in this specific photo. I like how I look with his hair and beard as well.
Studio Portraits with Strobes and Gels


HDR
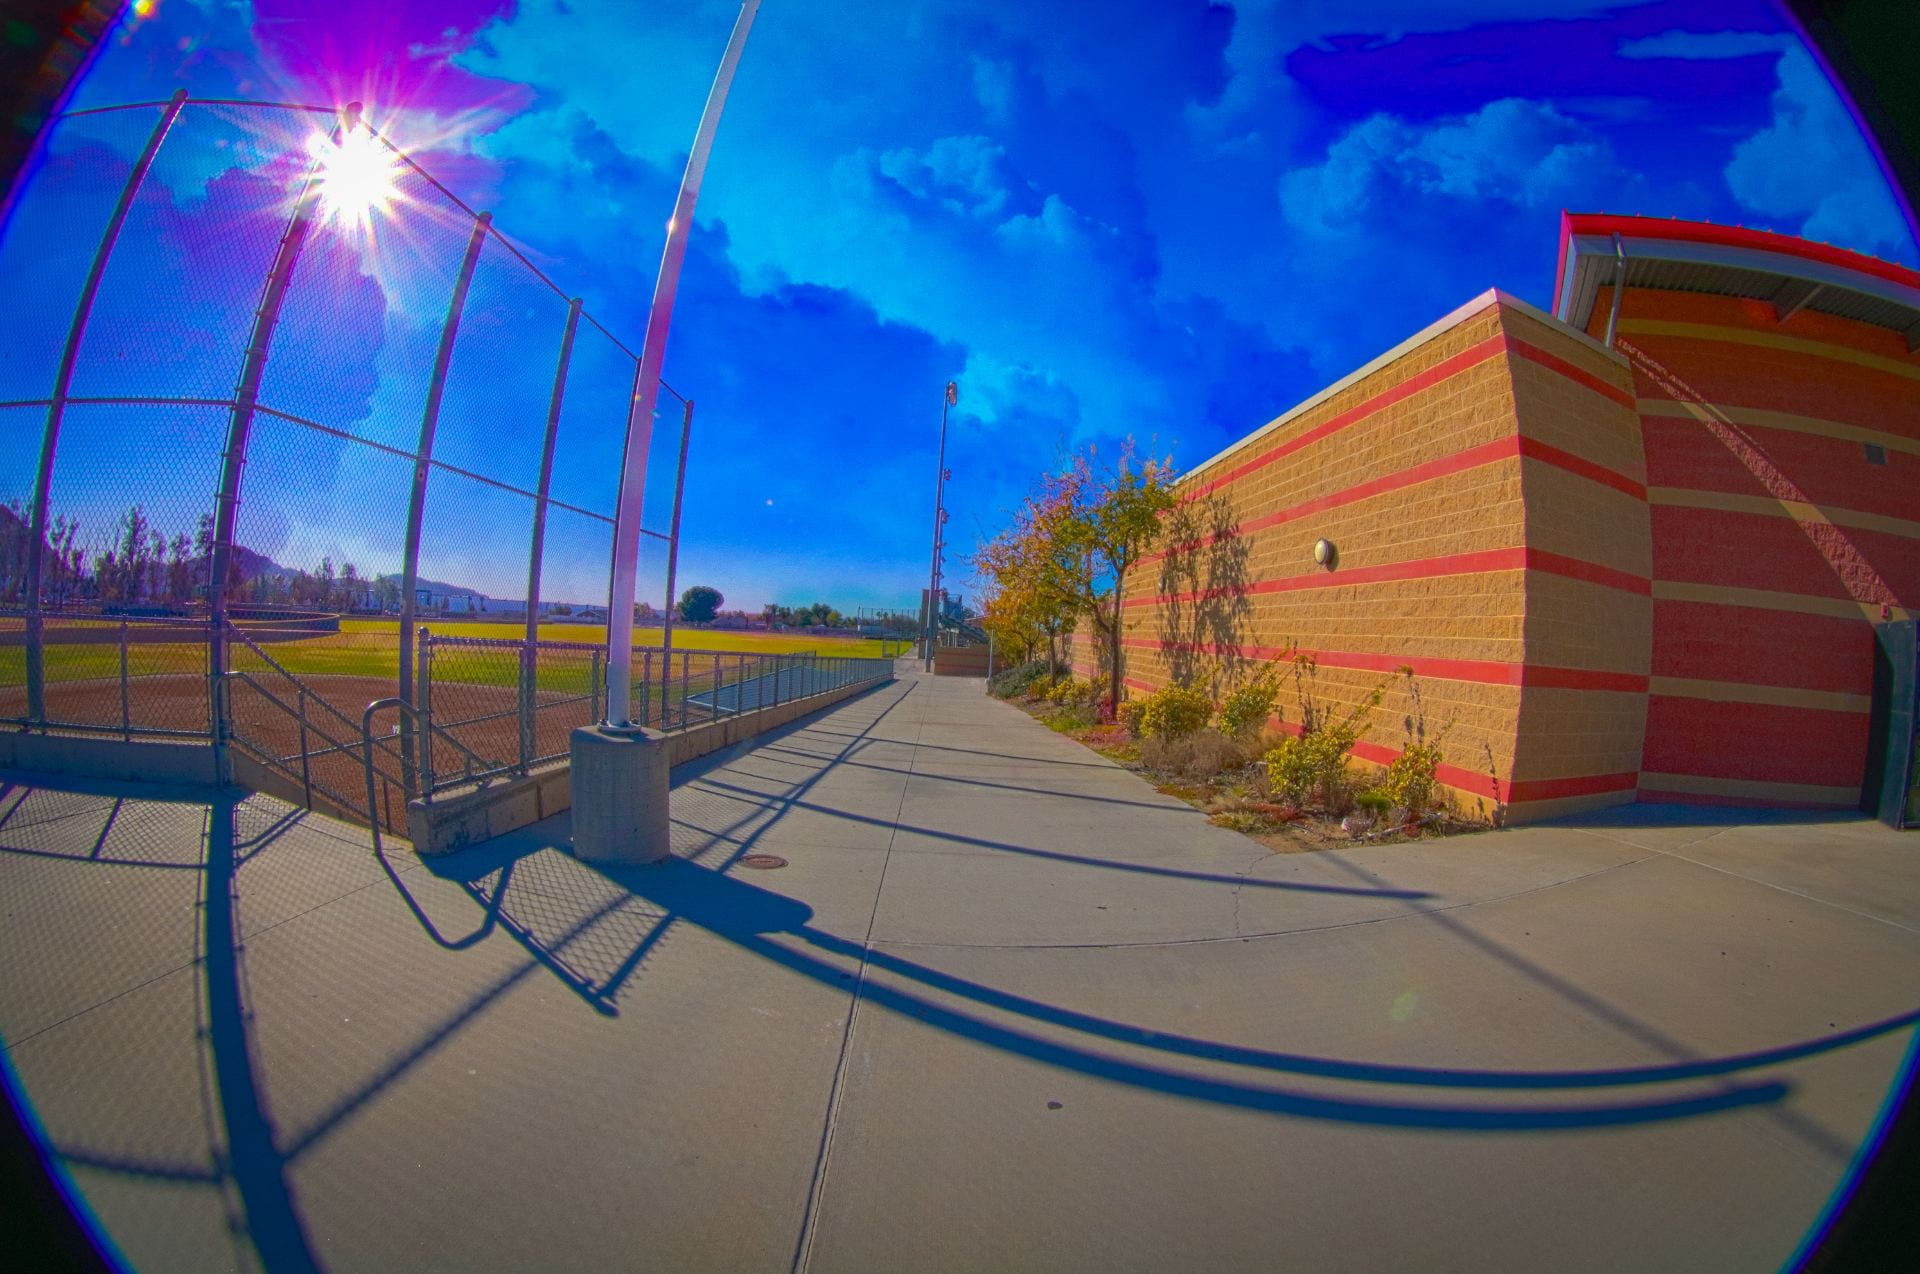 I think my work on this assignment was good. I don’t think it’s the best but I’m overall satisfied with how it turned out. I tried not to saturate the image too much and I think it looks nice. The clouds don’t look too fake neither so that worked out. I like the pink in the sun, I think it gives the image a nice tone. The fish lense also makes the picture cool and I like how that worked. I think using different clouds that were more dramatic would’ve been a better option, but the clouds on this one aren’t that bad. All in all, I like how it looks and am satisfied with the editing.
HDR
HDR in photography stands for high dynamic range. This is the range between the absolute lightest tones in a photo to the darkest ones. It’s the measure of light within a picture. To successfully achieve this in photography, you have to make sure you have a limited range of these light and dark tones. A way to do so is by taking three different pictures set with different exposures. If you’re taking a picture of a mountain and sky, try an underexposed picture to enhance the tones of the mountains and an overexposed picture to enhance the tones of the sky. Combining these pictures together will create a picture that perfectly captures both the sky and the mountains at once. Further editing your photos with high saturation can also bring out the different subjects’ colors and texture within the photo.
50 Photos


Similarities between Photoshop and Lightroom are that you can use the same image formats such as PNG, JPG, RAW, etc. They also share similar editing tools such as filters, effects, brushes, crop tools, and much more. You can also access all photos you’ve edited in the apps.
Differences between Photoshop and Lightroom are that Lightroom is easier to find the editing tools and allows you to edit multiple photos at once, whereas Photoshop does not. Photoshop is able to put layers on top of each other, but in Lightroom, you have to use photos that are not layered.